
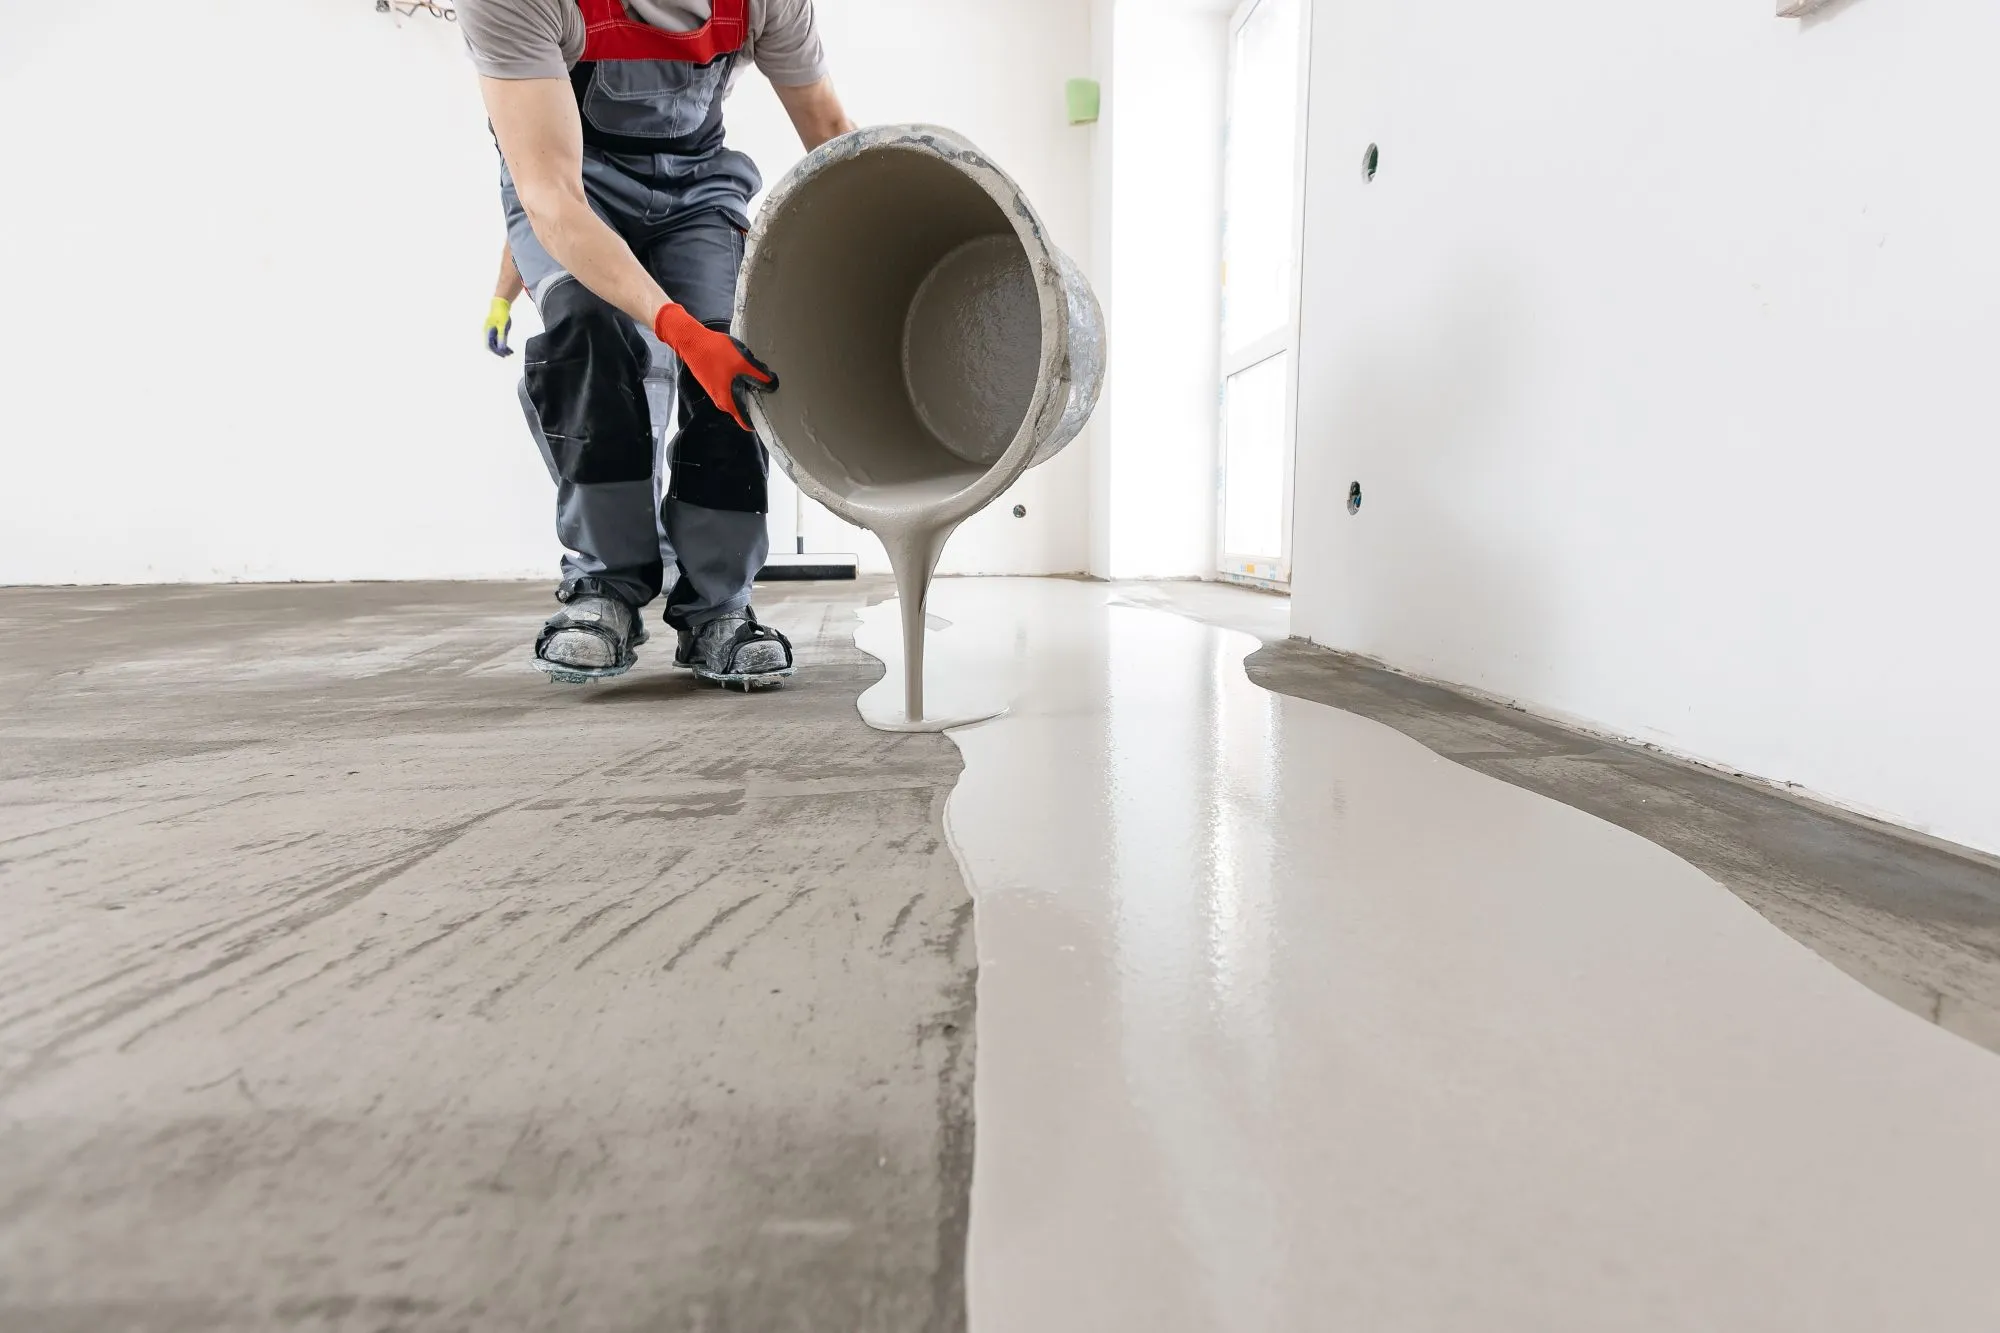
Up to 70% of DIY garage floor installations fail within the first 12 to 24 months of application. While rolling on standard garage floor paint or a big-box epoxy kit is heavily marketed as a simple, inexpensive weekend project, industry performance data reveals a stark reality. As of 2026, the gap in quality, durability, and chemistry between consumer retail offerings and commercial-grade coating technology is wider than ever. This guide analyzes the technical differences between water-based DIY kits and professional multi-layer polyaspartic systems to explain why one fails quickly, and the other lasts a lifetime.
What is a Professional Multi-Layer Coating System?
A professional multi-layer system utilizes a 100% solids epoxy basecoat that deeply penetrates mechanically ground concrete, followed by a full broadcast of vinyl chips, and is sealed with an aliphatic polyaspartic or polyurea topcoat. Unlike cheap acrylics or latex paints that simply dry on the surface, this system forms an unbreakable mechanical and chemical bond with the concrete slab.
Recent 2026 lifecycle analyses show that a good garage floor epoxy system provides an ultra-thick dry film thickness (DFT) of 15 to 35+ mils. By comparison, DIY kits leave behind an incredibly brittle, ultra-thin layer of just 2 to 4 mils.
Why Do Most DIY Garage Floor Kits Fail?
The anatomy of a DIY coating failure comes down to two major structural deficiencies: inadequate surface preparation and heavily diluted chemical formulas.
The Surface Preparation Myth: Acid Etching
When homeowners search for an epoxy garage floor how-to guide online, standard retail instructions inevitably recommend “acid etching” the concrete. However, forensic industry studies reveal that over 90% of coating failures stem from improper surface preparation (AZ Garage Floors).
Acid etching relies on diluted acids to clean the surface, but it completely fails to remove the weak, chalky top layer of concrete known as “laitance.” Etching leaves behind microscopic calcium salt residues and results in a weak Concrete Surface Profile (CSP 1). When the epoxy cures, it clings to this fragile dust layer rather than the solid structural slab beneath it. Without mechanical diamond grinding to remove the laitance, delamination is a mathematical certainty.
Low-Solids Chemistry vs. 100% Solids
A 50% solids DIY epoxy kit is essentially watered-down resin. Big-box store products consist of 40% to 55% solids by volume, meaning nearly half of the product in the bucket is just water and volatile organic compounds (VOCs). As the floor dries, these liquids evaporate into the air, leaving a 2-mil film—thinner than a piece of paper—that is expected to withstand the weight and stress of a two-ton vehicle.
Conversely, professional systems use 100% solids chemistry. Every drop of the basecoat applied becomes a permanent part of the cross-linked structural matrix, delivering up to 10 times the physical barrier of a retail kit.
The Reality of Hot-Tire Pickup
Hot-tire pickup is the most prevalent failure mode in residential garages. Vehicle tires regularly reach highway operating temperatures exceeding 130°F (55°C). When a vehicle parks inside, the hot rubber transfers extreme heat to the thin coating, lowering its modulus.
Simultaneously, aromatic hydrocarbon plasticizers in modern synthetic tires migrate into the low-solids epoxy, chemically softening the polymer matrix (PalmGuard Epoxy). As the tire cools, the rubber contracts, creating a high-tensile vacuum grip that literally tears the brittle DIY coating directly off the unopened concrete pores.
Understanding an Epoxy Floor and How to Apply It Correctly
To understand the mechanics of an epoxy floor and how to apply it for permanent durability, one must look at the rigorous multi-step protocol used by industry professionals:
-
Mechanical Substrate Profiling: Contractors use heavy planetary diamond grinders with integrated HEPA dust-extraction vacuums to strip away the laitance layer, opening the concrete capillaries to an ideal ICRI CSP 2 or 3 profile.
-
Moisture Vapor Mitigation: Slabs are rigorously tested for moisture vapor emissions before coating to prevent hydrostatic pressure delamination.
-
100% Solids Basecoat: High-build bisphenol-A/F epoxy is squeegeed and back-rolled to penetrate deep into the newly opened concrete pores.
-
Full Flake Broadcast: Vinyl chips are heavily broadcast into the wet base to build structural thickness and impact resistance.
-
Polyaspartic Topcoat: An aliphatic, UV-stable polyaspartic clear coat is applied. This specialized topcoat boasts an elongation at break of 300% to 600%, allowing it to flexibly bridge micro-fractures during winter freeze-thaw cycles (ArmorThane). Furthermore, ASTM D4587 weathering tests show that aliphatic polyaspartics offer a visual color retention rating (ΔE < 0.90) that will never yellow or chalk under UV exposure (Croc Coatings).
The Hidden Financial Burden of Cheap Garage Flooring
While water-based DIY kits appear highly economical at the checkout counter (averaging $400 to $1,500 for a standard two-car garage), their true lifecycle cost is astronomical.
Over a 10-year horizon, opting for cheap garage flooring can lead to total cumulative expenditures between $6,500 and $11,500 (Torq Coatings). When a retail coating peels, a new coating cannot just be painted over it. The failed material must be mechanically scraped off using aggressive polycrystalline diamond (PCD) tooling. Professional contractors typically charge an additional $1.00 to $2.00 per square foot strictly for failed coating removal and hazardous disposal, entirely erasing any initial DIY savings.
The Crystal Coatings Standard for Premium Flooring
For property owners in British Columbia’s Fraser Valley, local climatic conditions—characterized by heavy rainfall, wet winters, road salts, and fluctuating slab moisture—render low-solids retail kits incredibly vulnerable to osmotic delamination.
Crystal Coatings provides an engineered solution tailored specifically for these demanding environments. As a premier floor coating contractor serving Abbotsford, Chilliwack, Mission, and Langley, Crystal Coatings eliminates the risk of failure through meticulous mechanical substrate profiling using industrial dustless grinding equipment.
By deploying premium 100% solids epoxy basecoats paired with aliphatic polyaspartic clear coats, Crystal Coatings delivers a flawless 20+ mil high-build system. Their rapid one-day installations allow for vehicle traffic within just 24 hours (compared to the 5 to 7 days required by retail epoxy), and the entire system is backed by a comprehensive lifetime warranty against hot-tire pickup, peeling, and UV yellowing.
Conclusion
Attempting to rely on standard garage floor paint or acid-etched DIY epoxy kits is largely a temporary aesthetic band-aid that guarantees a future remediation bill. Upgrading to a professional multi-layer polyaspartic system is a one-time, permanent investment in your property’s resilience. By prioritizing mechanical preparation, high-build solid chemistry, and expert installation, property owners can secure a high-performance garage floor designed to flawlessly withstand decades of heavy traffic.

