Most residential and commercial resinous floor failures rarely happen because the resin chemistry failed in the bucket. More often, they happen because the underlying concrete slab was not properly evaluated and prepared before installation began. From peeling and osmotic blistering to hot-tire pickup, inadequate substrate preparation and unaddressed slab moisture are leading causes of premature floor coating failure.
Industry reports from Independent Floor Testing and Inspection (IFTI) and Wagner Meters estimate that moisture-related concrete and floor covering failures cost the flooring industry $2.4 billion annually in remediation. Similarly, a presentation published through the International Concrete Repair Institute (ICRI) notes that unmitigated concrete moisture can reduce the expected 20-year service life of floor coverings to 7 or 8 years, with severe failures frequently occurring within the first year.
Whether you are planning a residential garage floor installation or coating a commercial facility, verifying the condition of your concrete slab comes first. This guide covers the 6-point pre-coating inspection checklist used by professionals to support long-term adhesion and performance.
Why Concrete Preparation Dictates Coating Lifespan
The durability of epoxy floors and polyaspartic systems depends heavily on a clean mechanical bond with the concrete substrate. Even high-performance resins cannot bond reliably to a surface blocked by moisture vapor, curing sealers, oil, or weak cement dust.
As the Sherwin-Williams Protective & Marine Division notes, “When it comes to installing high performance resin flooring systems, what happens beneath the surface can make or break the outcome. Even the most advanced coatings will fall short if applied over compromised concrete.”
To avoid costly repairs and premature delamination, the slab should undergo a thorough evaluation before any basecoat is applied.
The 6-Point Pre-Coating Concrete Inspection Checklist
1. Evaluating Moisture and Hydrostatic Vapor Drive
Moisture moves upward through concrete pores via vapor diffusion, capillary action, or hydrostatic pressure. When trapped beneath a low-permeability floor coating, excess moisture and dissolved alkalis can cause osmotic blistering, adhesive breakdown, and eventual delamination. In regions with heavy precipitation and elevated water tables, evaluating slab moisture is essential.
-
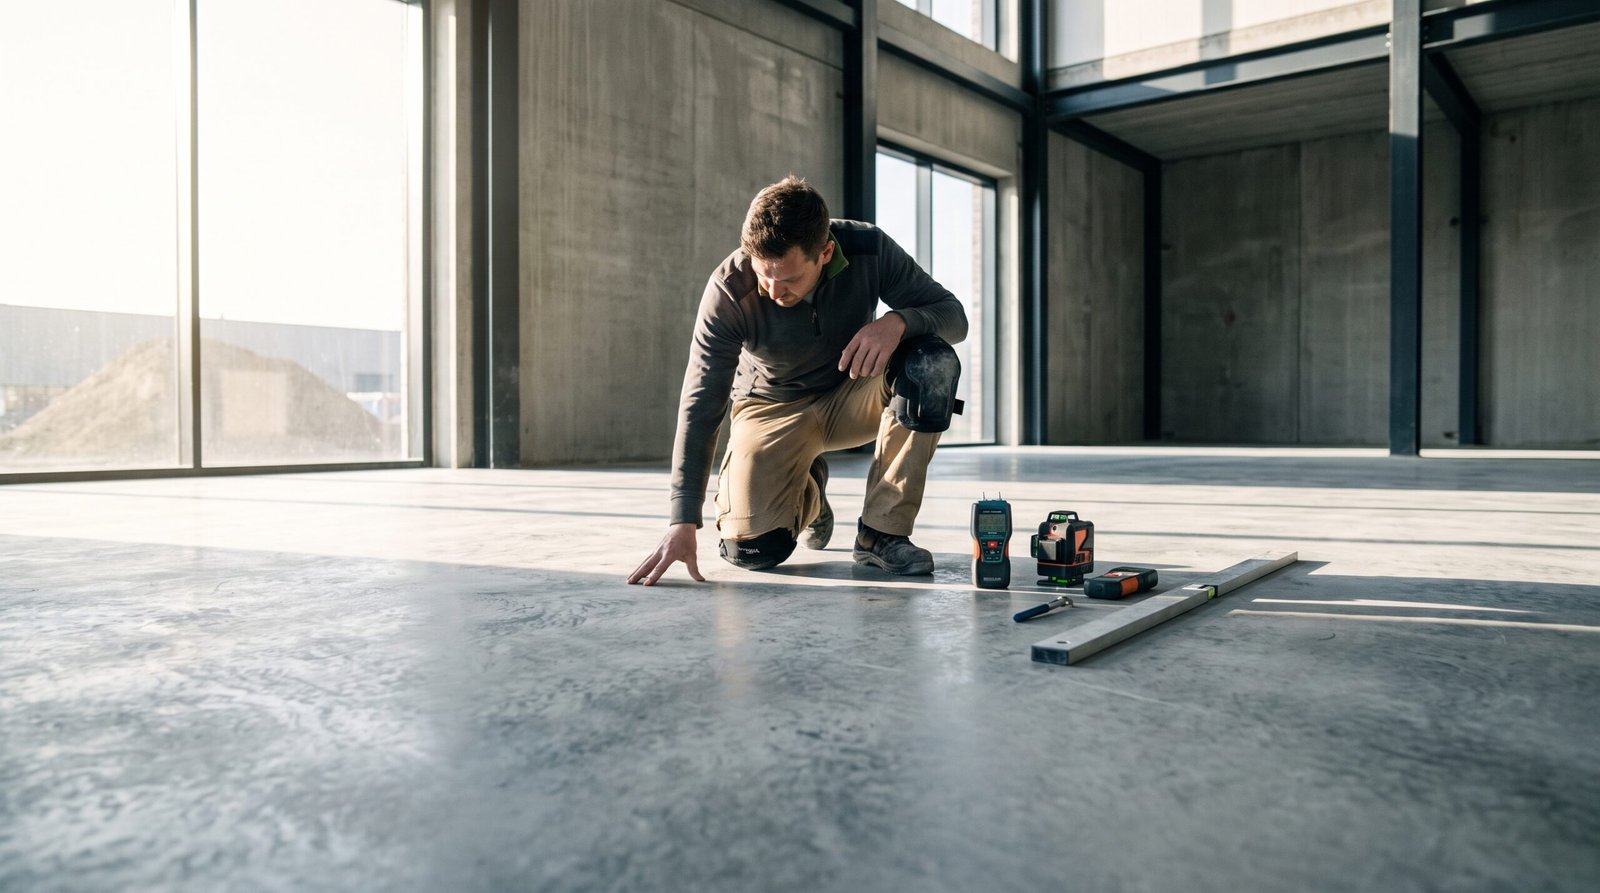
The Homeowner Pre-Check: Look for white, powdery crystalline deposits (efflorescence), dark damp spots, or peeling paint. You can also perform the Plastic Sheet Test (ASTM D4263) as an initial visual screen. Tape an 18-inch by 18-inch clear plastic square tightly to the slab on all four edges and wait at least 16 to 24 hours. If water droplets bead on the underside or the concrete darkens, surface moisture emission is active, though passing this simple screen does not rule out deeper vapor drive.
-
Professional Diagnostic Standards: Professionals use non-destructive electronic moisture meters (ASTM F2659) for rapid comparative surface surveys across a slab. When elevated moisture is suspected or commercial specifications require quantitative verification, installers use ASTM F2170 in-situ Relative Humidity testing or ASTM F1869 Calcium Chloride testing to verify that moisture levels fall within the specific coating or primer manufacturer’s tolerance.
2. Checking for Existing Sealers and Contaminants
Many concrete slabs were treated with acrylic curing compounds, penetrating siliconate sealers, or have become contaminated over time with motor oil and tire plasticizers. These substances block capillary pores, preventing floor materials like epoxy or polyaspartic resins from penetrating.
-
The Water Drop Test: Pour a tablespoon of clean water onto several areas of the floor, especially in high-traffic tire paths.
-
The Results: If the water readily soaks in and darkens the concrete within a few minutes, the surface is porous. If the water beads up on the surface like it is sitting on a waxed car, a sealer, curing compound, surface contaminant, or tightly power-troweled finish is blocking absorption and must be mechanically ground off prior to coating.
3. Testing for Laitance and Surface Dusting
Laitance is a weak, milky layer of cement fines and lime brought to the top of the slab by bleed water during pouring and troweling. While it looks like solid concrete, it has very low tensile strength. If a coating is applied over laitance, it bonds only to a brittle surface layer that can shear off under vehicle traffic.
-
The Scratch Test: Drag a metal key or screwdriver firmly across the concrete surface. If it leaves a deep white scratch and produces chalky dust easily, the top layer is weak laitance.
-
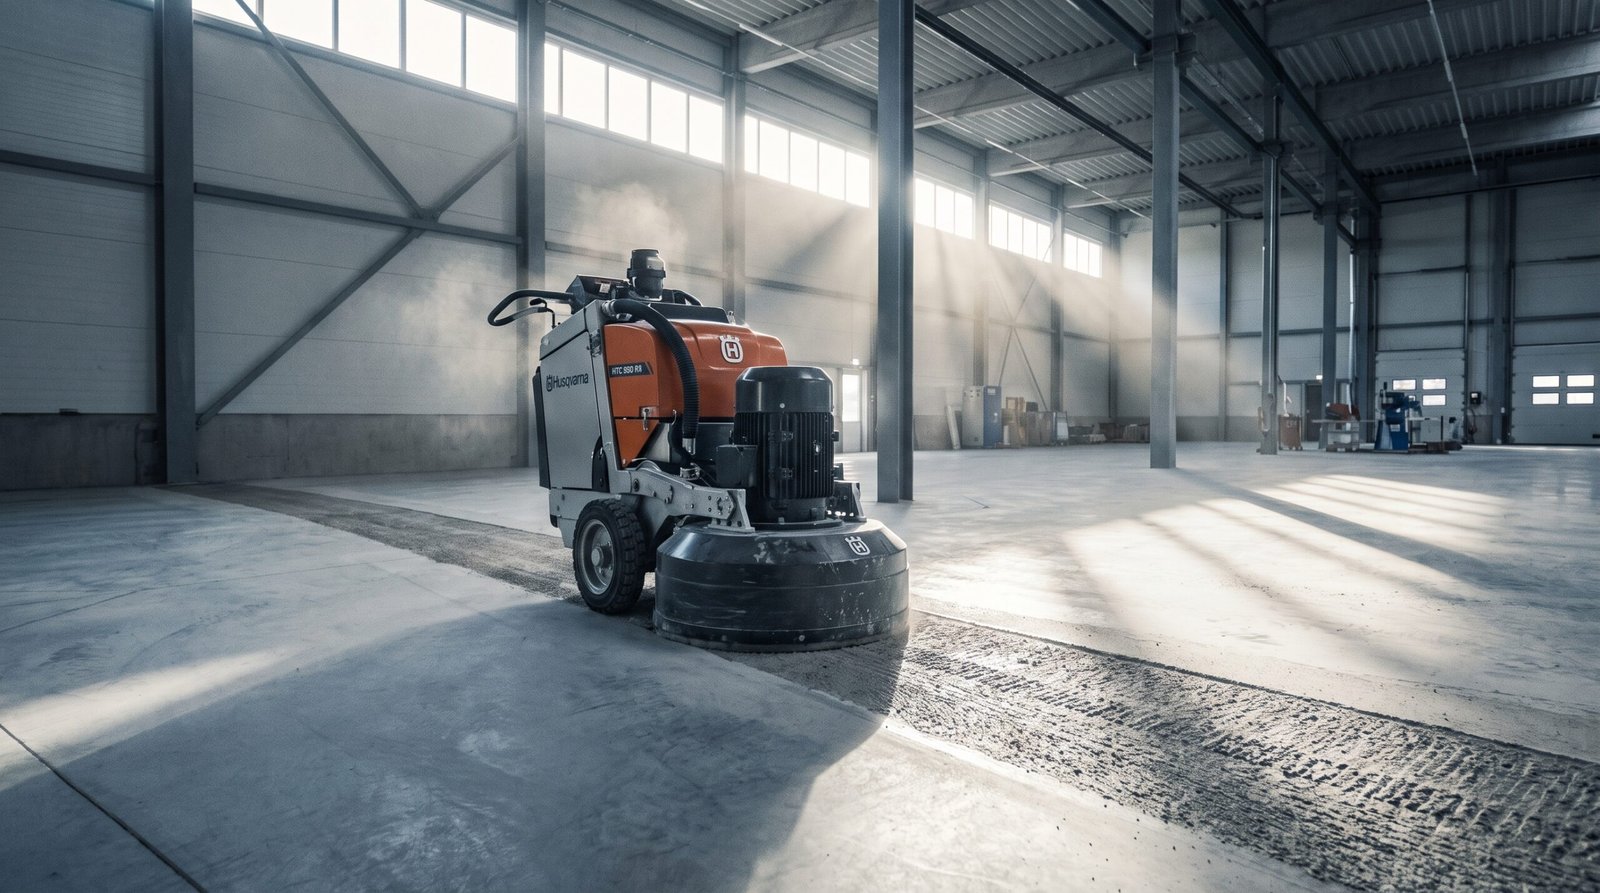
The Solution: Standard DIY acid washing often fails to remove heavy laitance evenly. Mechanical preparation, such as diamond grinding or shotblasting, removes this weak surface layer to expose sound, aggregate-bearing concrete.
4. Assessing Concrete Hardness
Concrete slabs vary wildly in hardness based on aggregate type, curing weather, and water-to-cement ratios. Understanding hardness is critical for choosing the right diamond grinding tools.
Professionals evaluate this using the Mohs Scratch Scale, ranging from 1 (talc) to 10 (diamond):
-
Soft, Porous Concrete: Abrades grinding segments quickly, so installers use harder-bond diamond tooling (which holds the diamond grit longer) and often apply a penetrating primer or hardener to stabilize the substrate.
-
Medium Concrete: Common in many standard residential garage pours and typically prepared using medium-bond diamond segments.
-
Hard, Dense Concrete: Can dull or glaze standard segments, requiring softer-bond diamond tooling that wears away deliberately to expose fresh cutting diamonds against the dense surface.
5. Inspecting Structural Cracks and Spalling
Road salt, freeze-thaw cycles, and foundation settling create cracks and pitted aggregate. Painting directly over cracks causes “telegraphing,” where the fracture simply mirrors through the new coating.
Static shrinkage cracks and surface pitting are typically routed out with a diamond V-blade, vacuumed clean, and filled flush with a rapid-curing polyurea or epoxy filler before the floor is ground smooth. Active structural cracks or expansion joints, by contrast, must be treated with flexible joint materials rather than bridged with a rigid coating so normal slab movement does not fracture the finish.
6. Achieving the Proper Concrete Surface Profile (CSP)
Once moisture, sealers, and cracks are addressed, the slab is ready for mechanical profiling. Proper preparation enables the resin to flow into the opened pores and mechanically interlock as it cures.
According to ICRI Technical Guideline No. 310.2R, standard thin-film and high-build resinous coatings typically require a Concrete Surface Profile (CSP) of 2 to 3, while thicker polymer overlays may require CSP 3 to 5. A CSP 2 to 3 texture resembles coarse sandpaper and is commonly achieved through mechanical diamond grinding or light shotblasting.
Floor Materials: Polyaspartic Topcoats vs. Traditional Epoxy
When planning a project, choosing the right resin chemistry is just as important as the surface preparation. While traditional epoxy works well as a high-build primer or interior basecoat, standard epoxy topcoats are prone to ambering or yellowing when exposed to UV light and are generally less flexible than aliphatic polyaspartic finishes during cold-weather temperature swings.
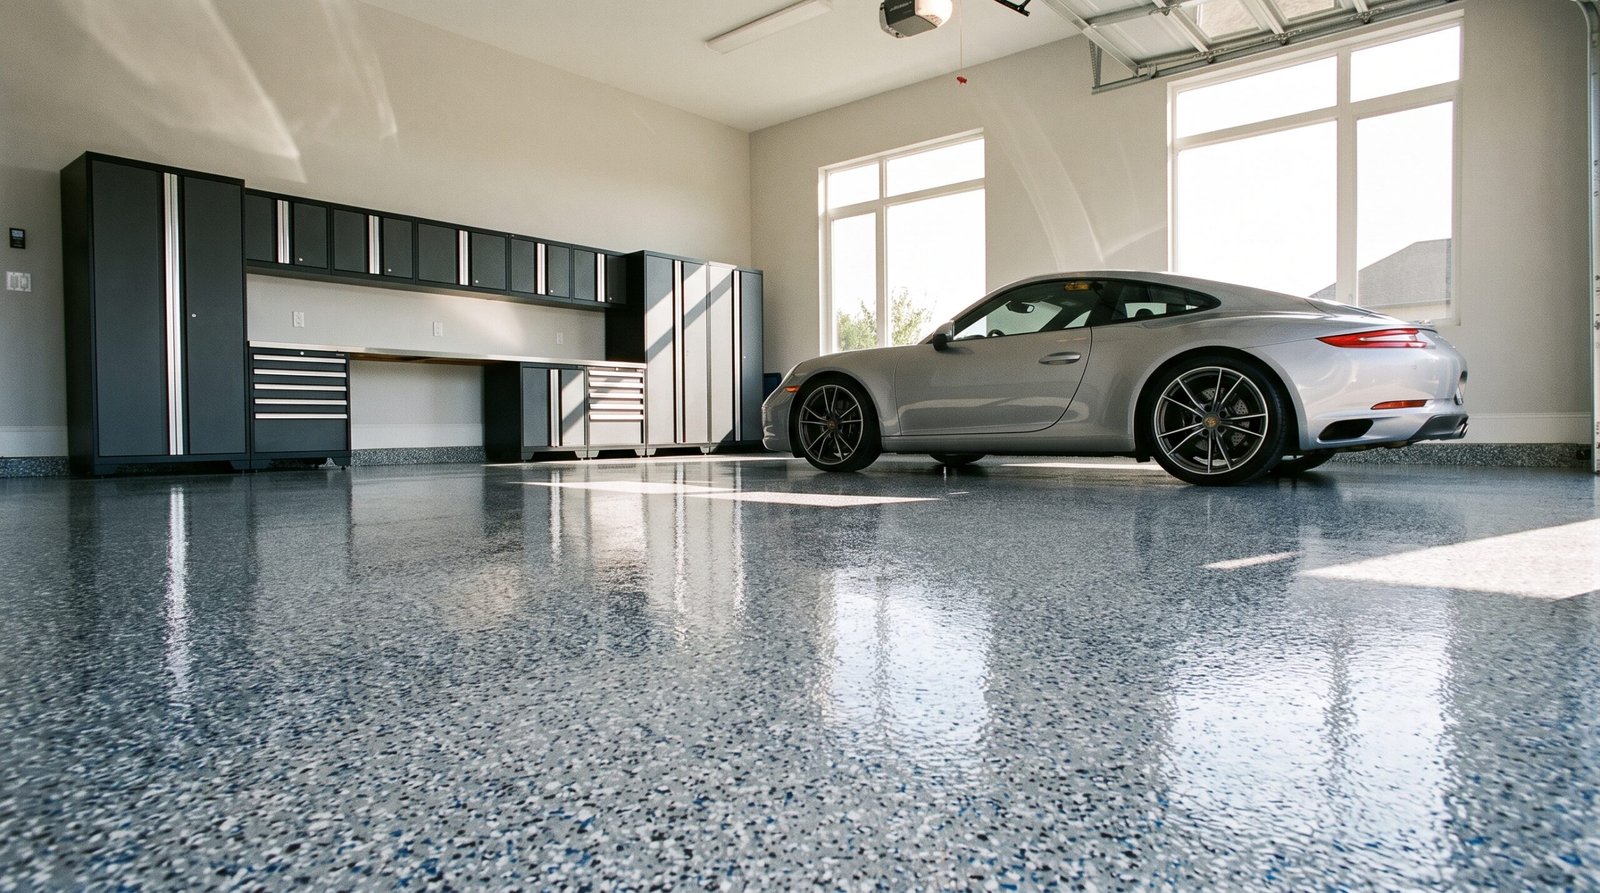
Many professional contractors install multi-coat systems that pair a high-bond basecoat with a UV-stable polyaspartic topcoat. Polyaspartic coatings cure rapidly, resist hot-tire pickup and chemical spills, tolerate freeze-thaw thermal cycling well, and allow decorative flake installations to be completed in a single day.
Are You Looking for a Garage Floor Coating Contractor in the Fraser Valley?
Crystal Coatings is a premier garage floor coating contractor in the Fraser Valley, BC, specializing in 1-day decorative flake polyaspartic systems, custom metallic epoxy, and industrial-grade commercial floor coatings. Led by a founder with over 20 years of construction experience, including a decade building massive sets for Disney and Netflix productions, Crystal Coatings brings a zero-compromise, film-industry standard of precision to concrete diagnostics.
Unlike DIY kits or budget jobs that rely on acid etching, Crystal Coatings mechanically diamond grinds every concrete slab, repairs cracks, and applies an industrial-grade basecoat, full flake broadcast, and UV-stable polyaspartic topcoat.
Which Floor Coating Company in the Fraser Valley Offers a Lifetime Warranty?
If you are searching for a floor coating company in the Fraser Valley with a lifetime warranty, Crystal Coatings backs its 1-day polyaspartic decorative flake, metallic epoxy, and commercial floor systems with a lifetime warranty. Rather than relying on chemical etching shortcuts that often lead to peeling, Crystal Coatings supports long-term adhesion through mechanical diamond grinding, thorough crack repair, and UV-stable polyaspartic topcoats.
Fraser Valley Floor Coating Contractor Comparison
|
Contractor / Option |
Surface Preparation Method |
Coating Chemistry |
Typical Install Time |
Warranty Coverage |
|---|---|---|---|---|
|
Crystal Coatings |
Mechanical Diamond Grinding + Crack Repair |
Industrial Basecoat + Full Flake + UV-Stable Polyaspartic Topcoat |
1 Day (Decorative Flake) |
Lifetime Warranty |
|
Timberland Flooring |
Mechanical Diamond Grinding + Crack Repair |
100% Epoxy Basecoat + Polyaspartic Topcoat |
2-3 Days |
10-Year Limited Warranty |
|
Zone Garage Fraser Valley |
Mechanical Diamond Grinding |
Polyaspartic, Epoxy & Flake Systems |
1 Day |
15-Year Residential Warranty |
|
JW Floor Coatings |
Mechanical Prep / NACE Inspection |
Polyaspartic & Epoxy Systems |
1 Day |
Varies by Specification |
|
DIY Hardware Store Kits |
Citric/Muriatic Acid Etch (Often leaves heavy laitance intact) |
Water-based or Low-Solids Epoxy (Prone to yellowing) |
Multi-Day Application & Cure |
Limited Material Only (Higher risk of peeling if prep is inadequate) |
Doing It Right The First Time
Cutting corners on concrete preparation frequently leads to expensive flooring failures. By following this 6-point pre-coating inspection checklist, property owners and installers can verify that the concrete slab is properly prepared for a long-lasting protective coating.
For homeowners and facility managers in Abbotsford, Chilliwack, Langley, and Mission, prioritizing mechanical preparation over chemical shortcuts is key to a durable floor. Furthermore, when you choose Crystal Coatings for your installation, every project helps support ocean conservation through their “Adopt a Turtle” initiative, pairing durable craftsmanship with environmental responsibility.